Collision Repair · Guide
What happens during a car accident repair? From inspection to final delivery
From inspection and hidden damage checks to painting and final delivery, here is what really happens during a car accident repair.
Published 5 min read
SHORT ANSWER
A typical accident repair follows this order: safety check and inspection, damage assessment, dismantling to find hidden damage, repair or replacement of parts, fitment checks, painting, reassembly, diagnostics where needed, and a final inspection.
In this article · 15 sections
A good accident repair is mostly work you never see: checking, measuring, aligning and testing. This guide walks through the stages of a typical collision repair so you know what to expect, what questions to ask, and what to check before you accept your car.
What should you do immediately after an accident?
Safety first
If the car is drivable, check for fluid leaks, warning lights, unusual noises or steering pull before driving further. If an airbag deployed, a warning light is on, or the car feels unstable, have it moved on a flatbed rather than driven.
Document the damage
Take clear photos of the damage, the location and any other vehicles involved. If you plan an insurance claim, check your policy and your insurer's process for what they require. Repair workflows differ between insurers and policies.
Step 1: Initial inspection
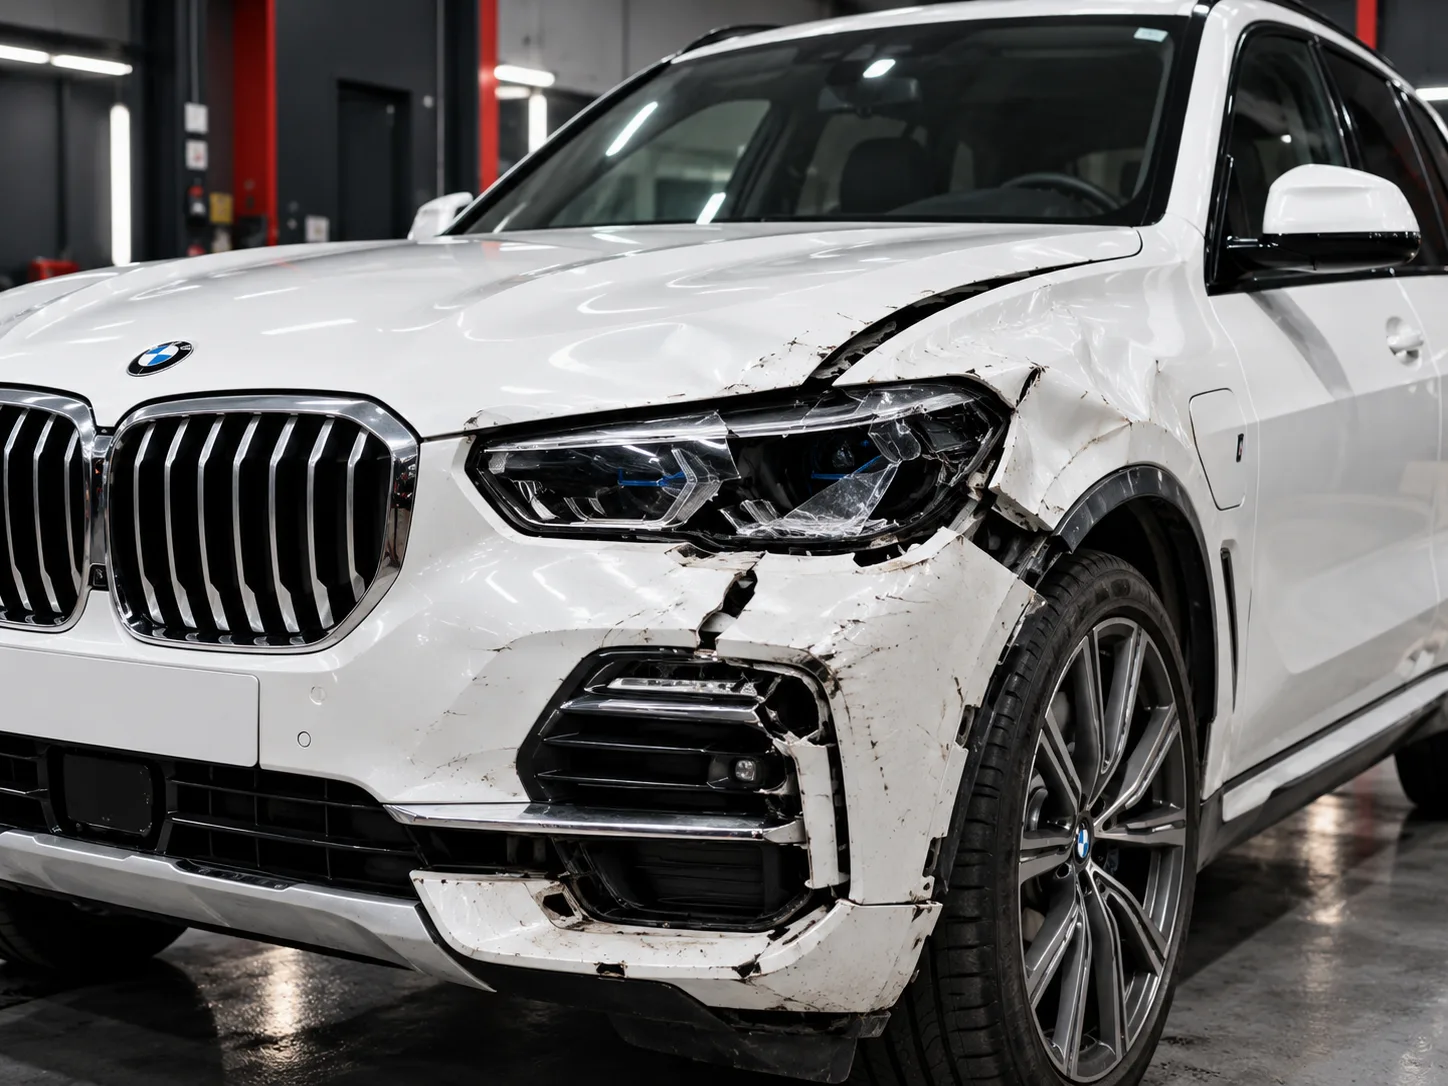
The workshop looks at the visible damage and asks how the accident happened: speed, direction of impact, and whether airbags deployed. The direction and force of the impact help predict which parts behind the visible damage may be affected.
Step 2: Damage assessment
An estimate is built from what can be seen, so it is normally an initial estimate. It can change once the car is opened up. Ask the workshop to explain which items are repair, which are replacement, and which are to be confirmed after dismantling.
Step 3: Identifying hidden damage
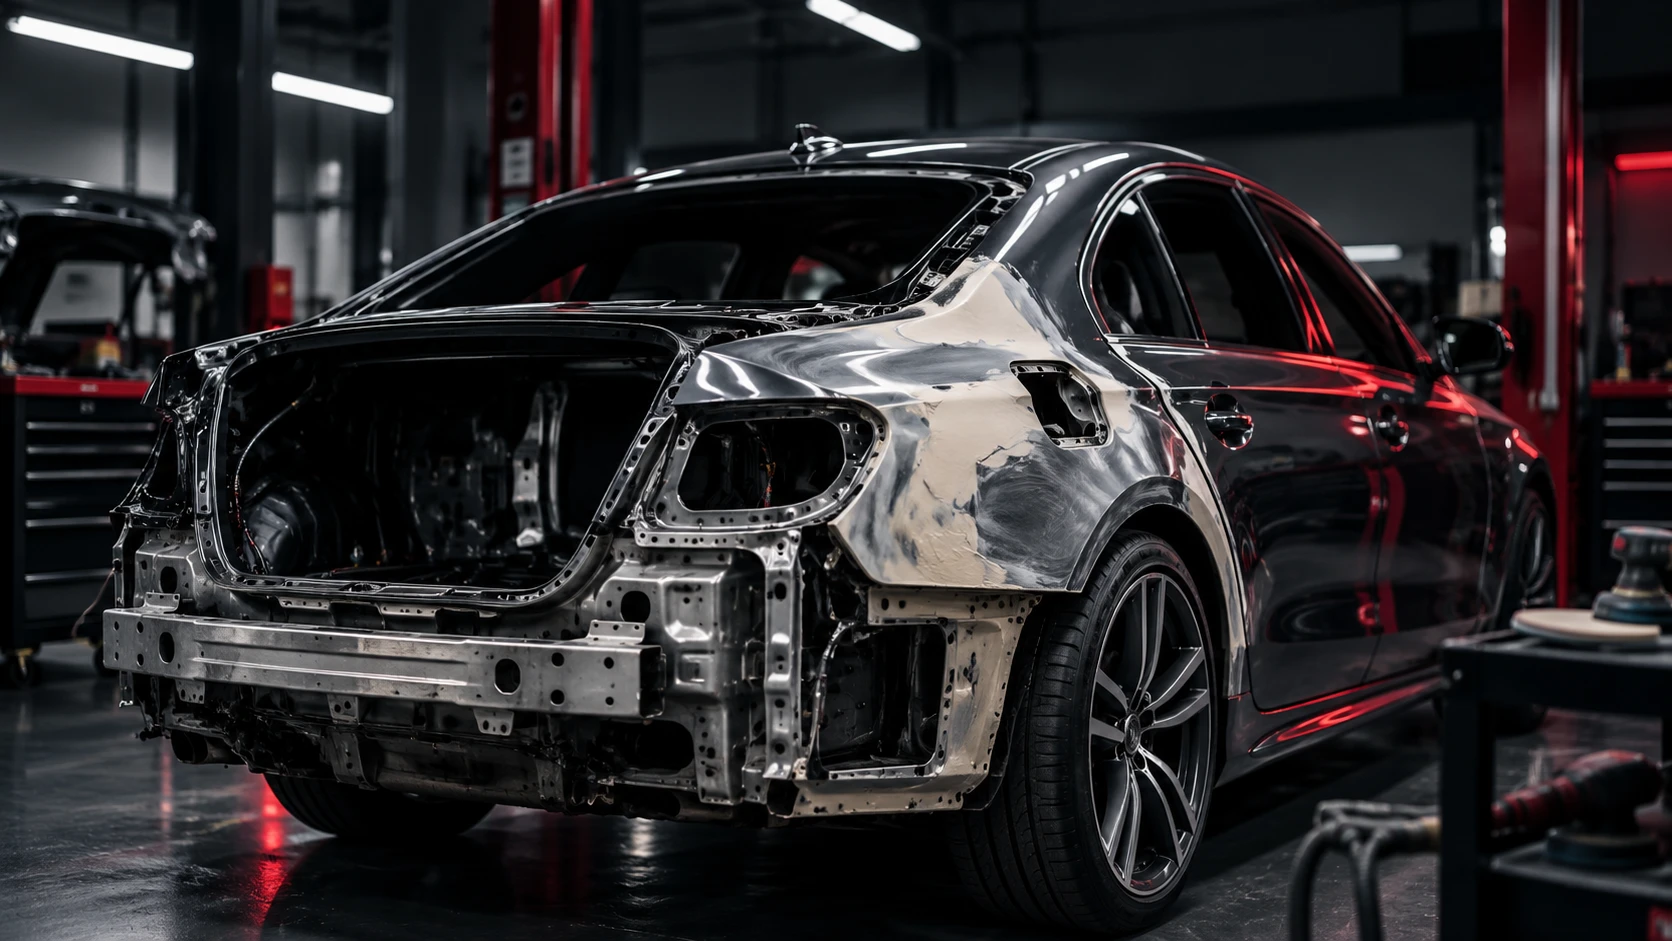
Bumpers and panels often hide damage behind them: bent brackets, cracked mounts, damaged reinforcement, sensors, wiring or misaligned structural sections. Hidden damage is usually found after the outer parts are removed, which is why a revised estimate is common and not necessarily a sign that anything is wrong.
Step 4: Dismantling
Affected panels, bumpers, lights and trims are removed carefully, labelled and stored so clips, brackets and fasteners are not lost. Careful dismantling also makes the true extent of the damage easier to see.
Step 5: Panel repair or panel replacement?
Repair is generally possible when metal is dented or stretched but not badly torn. Replacement is usually considered when a panel is badly creased, torn or corroded, or when repair would not restore its proper shape. Some parts are replaced by design, such as certain plastic clips and single-use fasteners.
| Situation | Often leads to |
|---|---|
| Shallow dent, paint intact | Denting and repainting |
| Sharp crease or stretched metal | Repair or replacement, depending on severity |
| Torn or cracked panel | Usually replacement |
| Structural section affected | Specialist assessment and measured repair |
The right choice depends on the specific car, material and damage, and the workshop should explain its reasoning.
Step 6: Bumper repair
Modern bumpers are typically plastic. Some cracks and tears can be repaired and refinished, while heavy damage, broken mounting tabs or damaged parking sensors may need part replacement. Behind the bumper cover, the reinforcement and mounts should be checked too, because they affect how the bumper sits.
Step 7: Alignment and fitment
Panel gaps, the spacing between the bonnet, wings, doors and bumpers, should look even and consistent. Fitment is checked before painting, because fixing a gap after paint risks damaging the finish.
Step 8: Painting
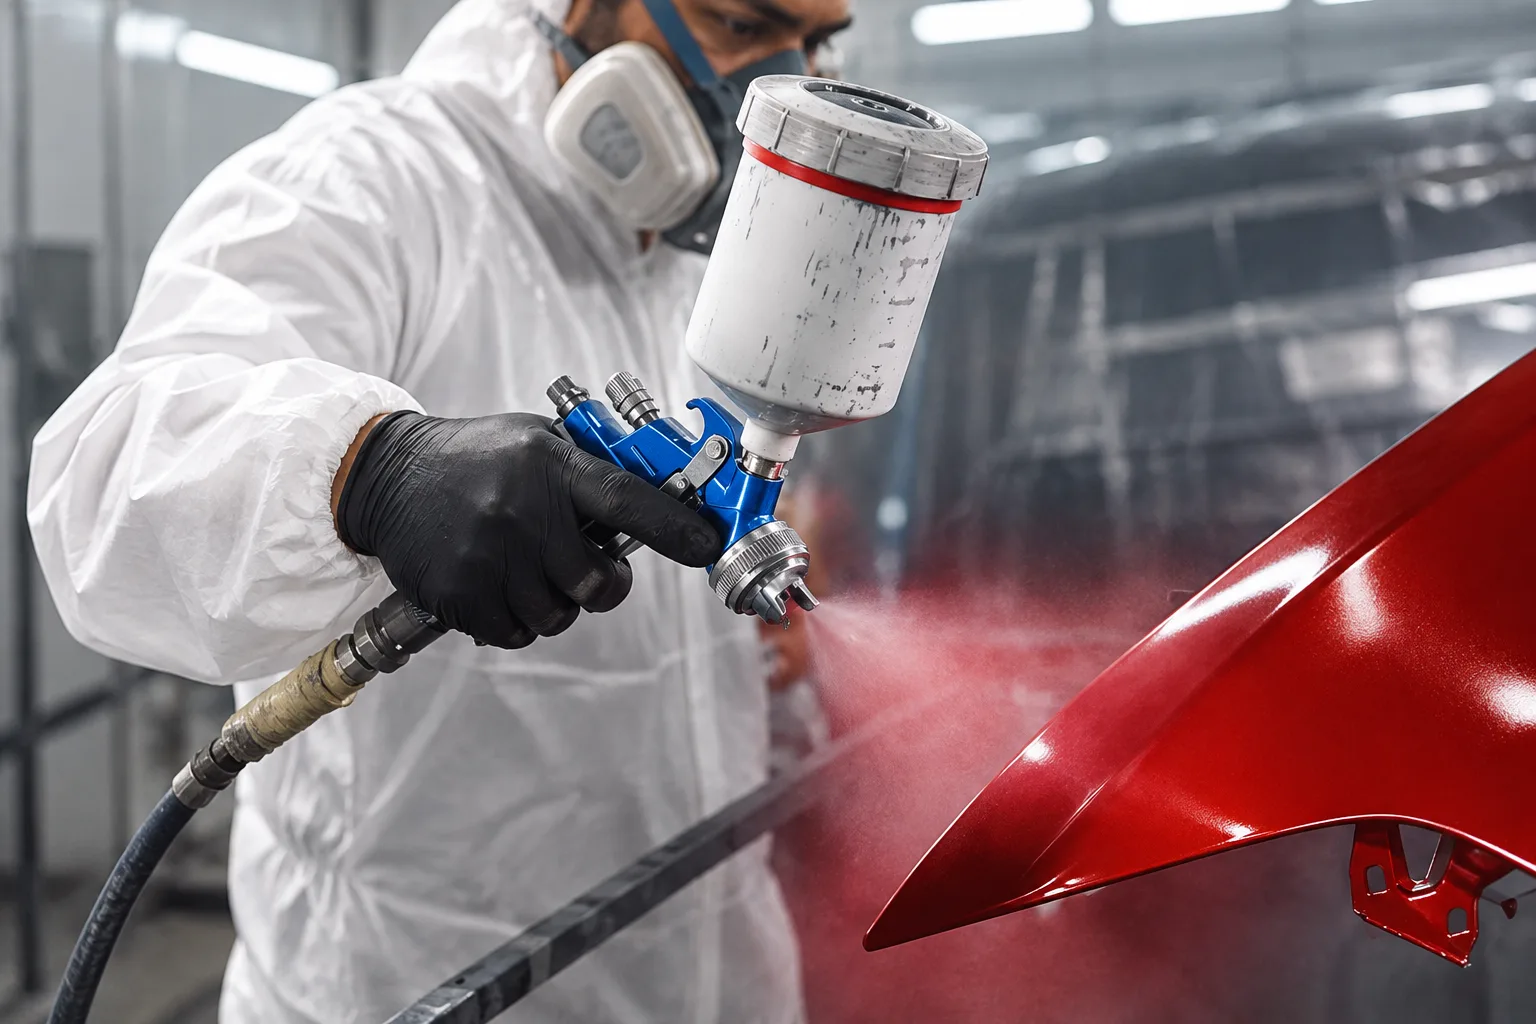
After preparation, repaired and replaced panels are primed, colour matched, sprayed and cured. Painting is where finish quality is most visible. Our guide to what happens before a car enters the paint booth explains each stage.
Step 9: Reassembly
Painted parts are refitted along with lights, trims, sensors, clips and interior items. Reassembly takes care, because freshly painted surfaces can be marked by handling.
Step 10: Diagnostics when required
If airbags deployed, warning lights appeared, or sensors, cameras or electrical parts were affected, diagnostic checks may be needed to confirm that the car's systems are working. Some cars with driver assistance features may also need calibration, depending on the vehicle and the damage. Ask the workshop which checks your car needs and who will carry them out.
Step 11: Final inspection
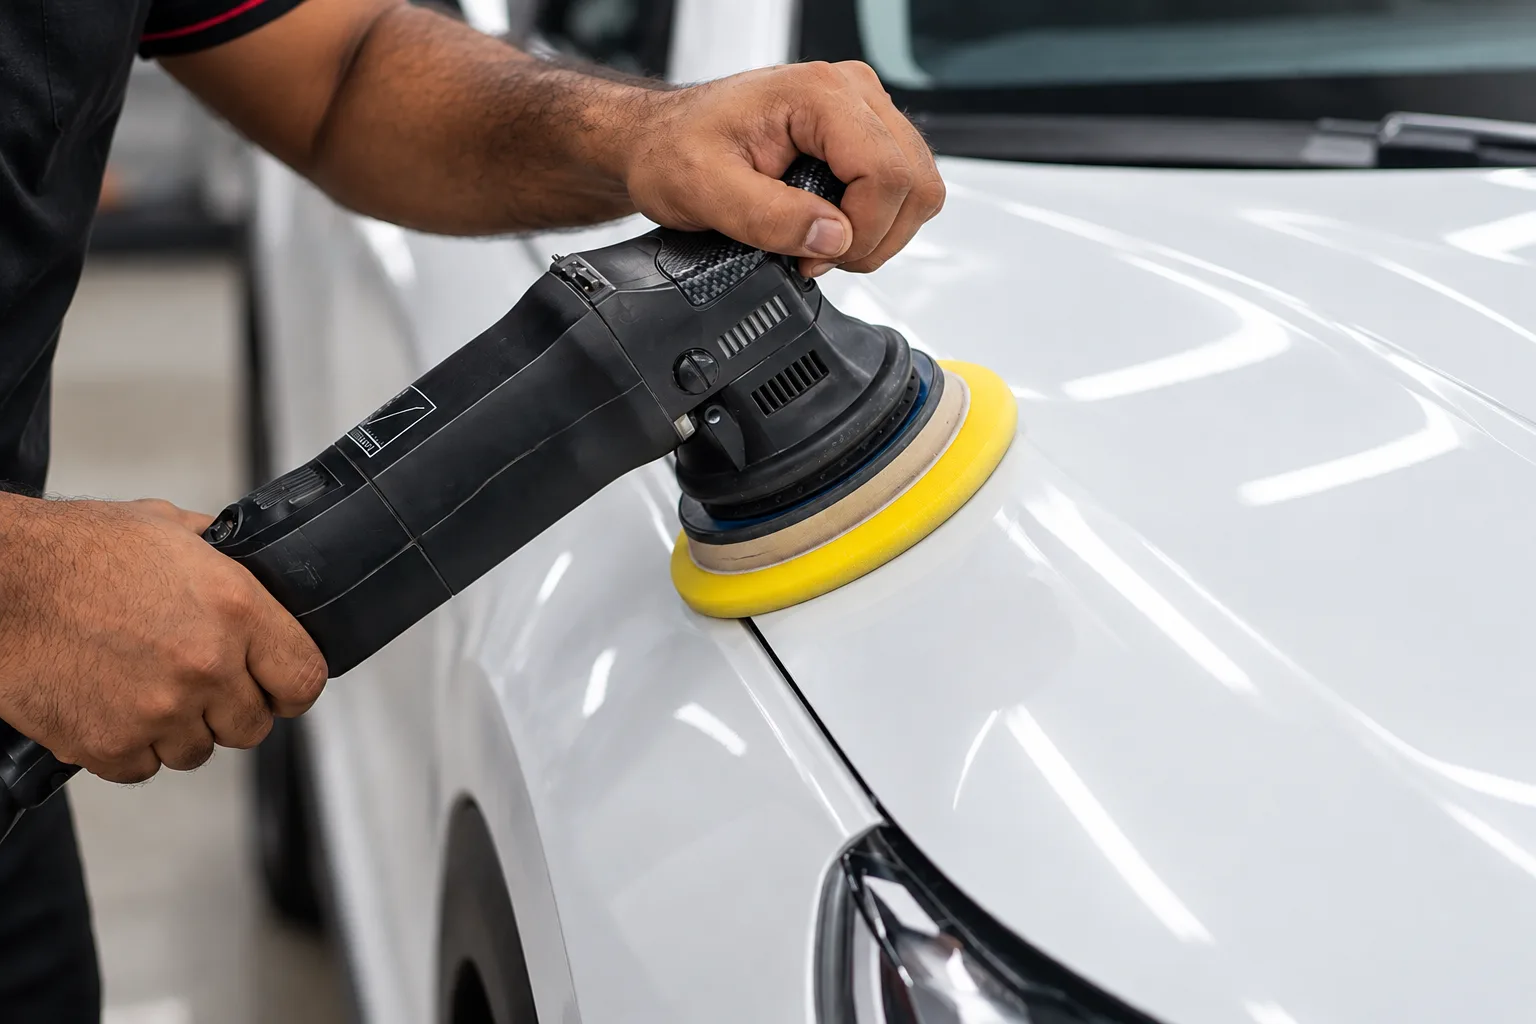
A final check should cover panel gaps, paint finish, lights, trims, locks, windows, sensors and a short test drive for steering, noise and alignment feel.
Why can rushing an accident repair cause problems?
- Paint that is not fully cured can mark easily or lose gloss.
- Skipped fitment checks can leave uneven gaps, wind noise or water leaks.
- Missed hidden damage may show up later as vibration, uneven tyre wear or warning lights.
- Poor preparation can lead to peeling paint or visible repair edges over time.
A realistic plan is usually better than a fast promise. Ask what stage the work is at and why.
What should you check before accepting your car?
- Inspect the car in daylight or under bright light.
- Check the colour match across neighbouring panels from different angles.
- Look for dust specks, runs, orange peel texture or rough patches in the paint.
- Check that panel gaps are even on both sides.
- Open and close the doors, bonnet, boot and fuel flap.
- Test the lights, indicators, wipers, windows and central locking.
- Check for warning lights on the dashboard.
- Ask for a list of parts replaced and work done.
- Take a short test drive.
- Ask for care instructions for the fresh paint, such as when to wash the car.
Questions owners ask
It depends on the damage, parts availability and approvals. A minor dent and paint job is a much smaller job than a repair that needs parts and structural work. A reliable workshop explains the stages and updates you if hidden damage is found.
Hidden damage often becomes visible only once panels and bumpers are removed. A revised estimate at that stage is common.
No. Sharp creases, torn metal or stretched panels may need replacement instead of repair.
If airbags deployed, warning lights came on, or sensors and wiring were involved, it is sensible to ask for one.

Written by the Autvel Body Works team
Published 2 Oct 2026, Guindy, Chennai